
Sometimes you'll need to tweak the language on a specific engagement letter for a unique client situation — without permanently changing the template itself. Knuula's Edit feature lets you make these one-off edits directly on a generated letter, so the change applies only to that contract and leaves your template untouched for future engagements.
Note: This feature is permission-based — not every Knuula user has access to it by default. If you don't see the Edit button after following the steps below, contact Knuula support at support@knuula.com or your Knuula representative to have the feature enabled for your account.
Step 1 — Open the Drafted Letter and Click Revise
The Edit feature is only available after an engagement letter has been generated. You can't access it during initial drafting.
- From the Contracts page, locate the engagement letter you want to edit
- Click the contract title to open the action menu
- Select Revise Contract to open the letter in the dynamic document review screen
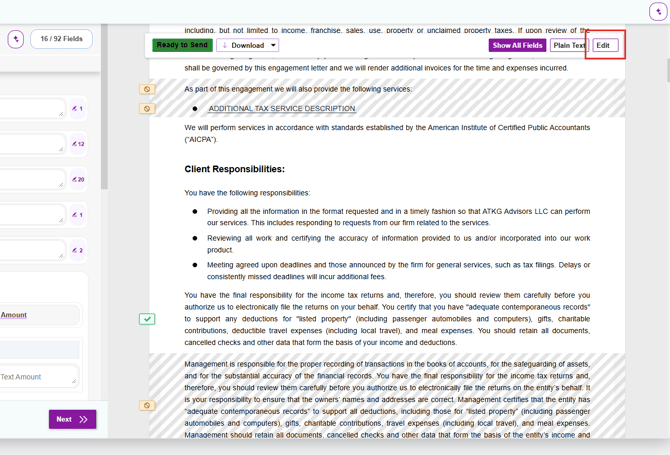
Step 2 — Click the Edit Button
Once the letter opens in Revise mode, you'll see an additional Edit button in the top right corner of the letter (next to Show All Fields and Plain Text).
- Click Edit to enable language editing mode
- The letter is now editable — you can click directly on any non-field text to modify it
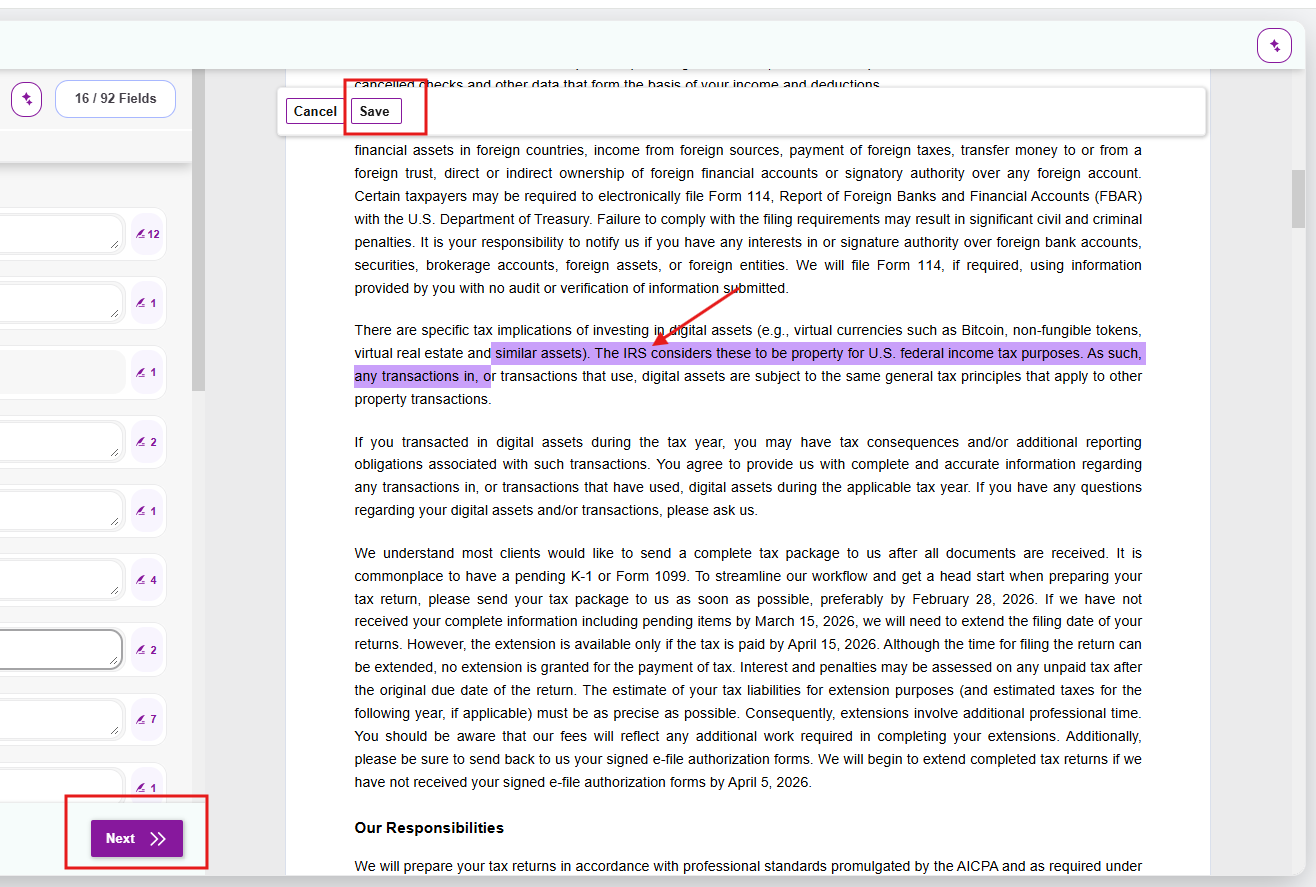
Step 3 — Modify the Language
- Select the sentence, paragraph, or text you'd like to change
- Type your edits directly into the letter — the changes will appear in real time on the right side of the screen
- You can add new sentences, rewrite existing language, or remove text as needed
Tip: Edits are scoped to non-field text only — meaning you can change static letter content (paragraphs, sentences, headings) but not the values inside fields like client name, fees, or dates. Field values must still be updated through the field panel on the left.
Step 4 — Save Your Changes
- Once you've finished editing, click the Save button at the top of the page
- Follow the remaining prompts to complete the revise process:
- Confirm Action to acknowledge that prior recipient inputs will be removed (since revising remakes the contract)
- Choose a Saving Option (Update Contract Only vs. Update Contract and Party)
- Choose a Notification Option (Revise Only vs. Revise and Notify Parties)
- Click Revise Contract to finalize
Step 5 — Verify Your Edits
After saving, scroll through the letter to confirm your edits appear correctly. The revised version is what the client will receive when the contract is sent.